
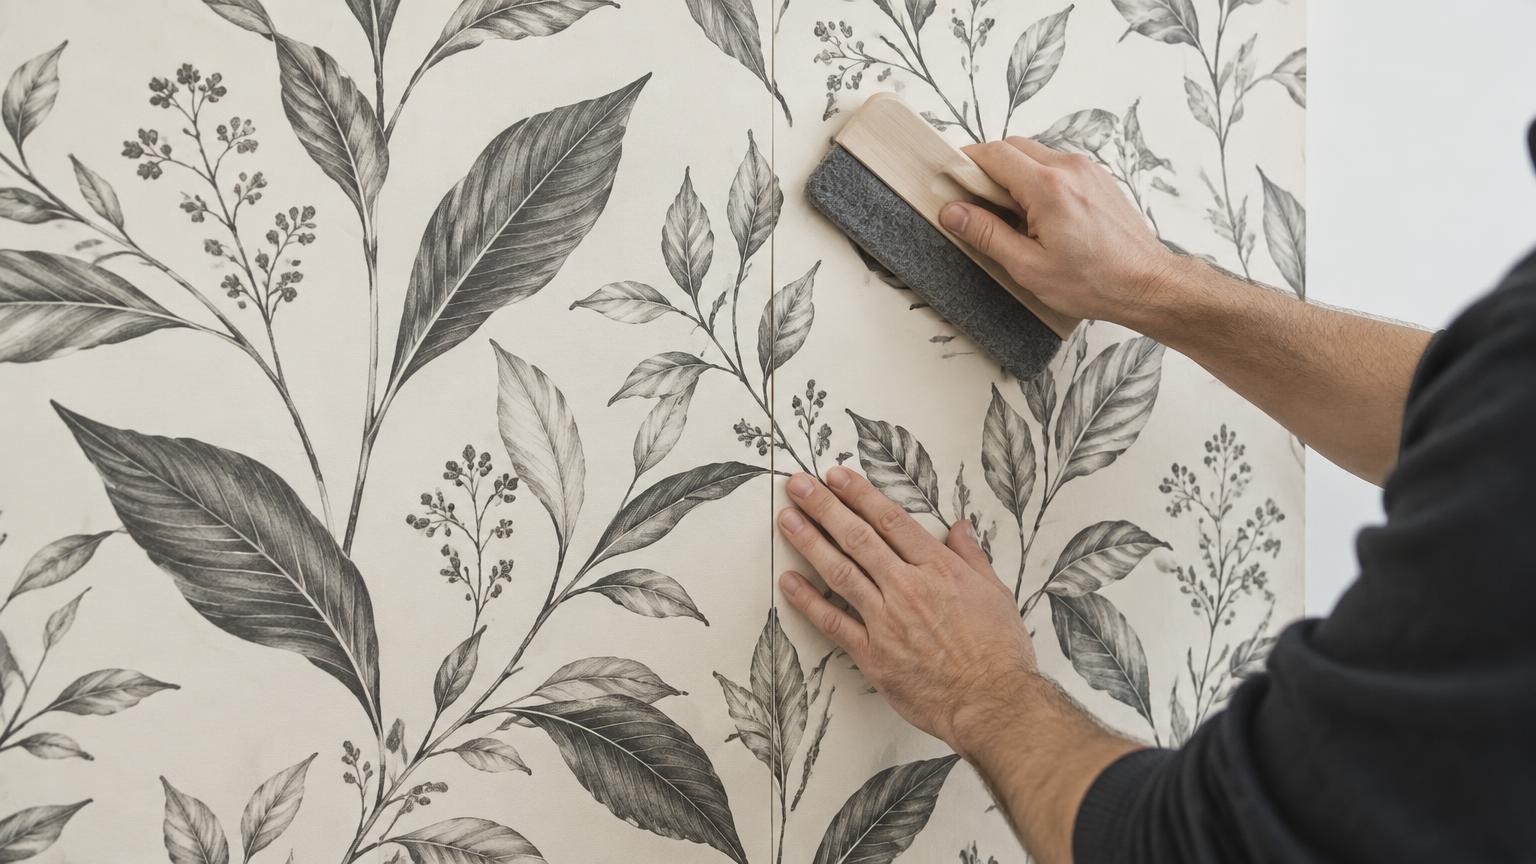
InkScape Studio · How To
Wallpaper installation
A beautiful finish begins with a well-prepared wall. Find the right method for your material, from the first panel to the final seam.
Before you beginFor every material
Before you begin
Good preparation matters just as much as careful hanging. Read through the guide before opening your adhesive.
Compare our materials- 01
Prepare the surface
Remove old wallpaper and loose paint. Fill imperfections, sand smooth and remove dust. The wall must be clean, dry, sound and uniformly coloured; prime with a product suitable for your wall and wallpaper.
- 02
Let fresh finishes cure
The reference installation guides allow about three weeks for fresh plaster or paint. Follow your paint and primer manufacturer's full curing time if it is longer. Test adhesion first, especially on washable, ceramic or latex finishes.
- 03
Check every panel
Lay out the panels in order on a clean surface. Confirm your material, dimensions, colours and pattern joins before applying adhesive or removing the backing. If anything is wrong, stop and contact us before hanging.
- 04
Mark a true vertical
Use a spirit or laser level rather than the room corner as your guide. Start from the left and allow for trimming at uneven edges. Check the supplied panel layout and trim allowance before marking the first panel's position.
Switch off power before removing outlet covers, and use a qualified electrician where needed. Do not sand suspect lead paint or unknown older coatings without professional advice.
01 · Paste the wall
Studio Vinyl installation
Our textured vinyl wallpapers have a non-woven backing. Adhesive goes onto the wall, not onto the panel. Canvas, Concrete, Fabric, Leaves, Line, Rope and Sand share this method.
- 01
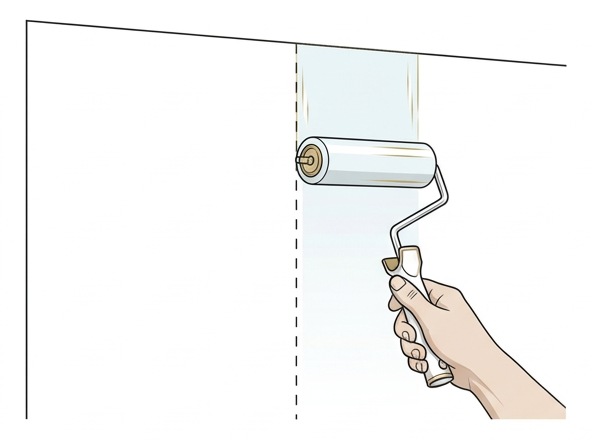
Apply paste to the wall
Use ready-mixed adhesive suitable for heavy non-woven wallpaper and your wall surface. Apply a thin, even layer with a brush or roller to one panel-width at a time, extending slightly beyond it. Do not paste the whole wall at once or apply paste to the paper.
- 02
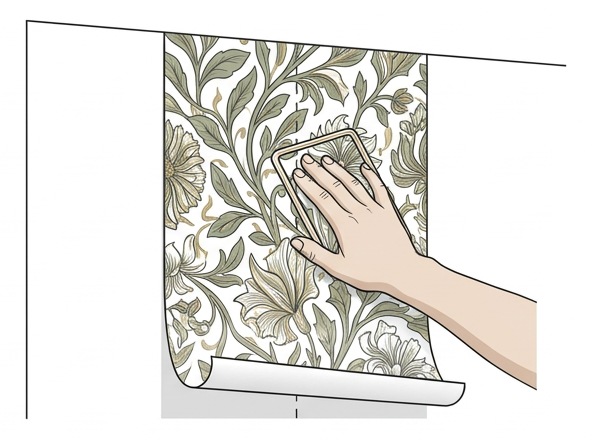
Hang the first panel
Align the panel to your vertical guide, keeping the planned trimming allowance. Gently smooth it onto the pasted wall from the centre towards the edges, working out trapped air without stretching or scrubbing the surface.
- 03
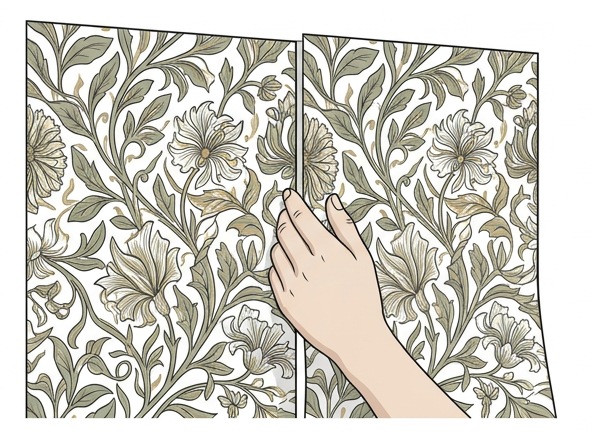
Match the next panel
Match the artwork before smoothing the next panel down. For edge-to-edge panels, bring the edges together without a gap or overlap. If your order has a supplied overlap, follow that panel layout instead; do not assume both finishes use the same seam method.
- 04
Clean and finish
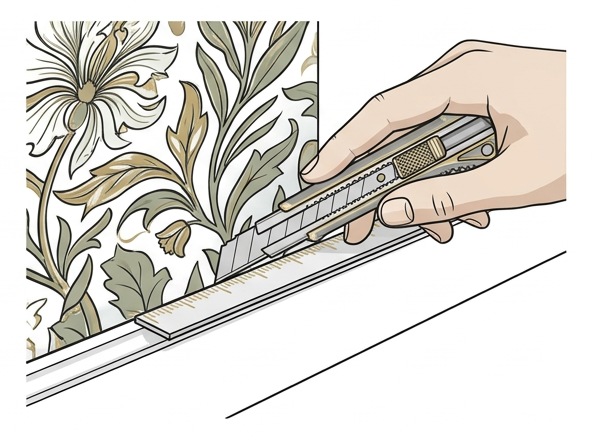
Gently press the joins with an appropriate seam roller. Remove any paste from the face immediately with a soft, damp cloth, without rubbing. Trim surplus at ceilings and skirting using a sharp blade and straightedge; avoid tearing the wet material.
High-humidity rooms
Bathroom guide
Vinyl suits bathrooms well, but constant steam and condensation call for a few extra steps alongside the method above.
- 01
Use a mold-inhibiting adhesive
Choose an adhesive or primer that contains fungicide or biocide additives. Mold-inhibiting additives stop mildew growing behind the vinyl in high-humidity spaces.
- 02
Prime the walls first
Seal drywall or plaster with a moisture-resistant or acrylic primer before pasting. Priming improves grip and keeps moisture from breaking down the bond between wall and wallpaper.
- 03
Seal the seams
Once the panels are fully dry, run a thin bead of clear-drying acrylic or silicone edge sealer along every seam. Sealing stops steam and water from seeping underneath the panels.
A few habits help too: run the extractor fan during and after showers, wipe condensation off the panels, keep them out of the direct spray inside the shower enclosure, and let the adhesive cure fully before the room steams up again.
02 · PVC-free non-woven
Studio Eco-Wall Paste installation
Our PVC-free Eco-Wall Paste material also uses the paste-the-wall method. It is not self-adhesive: use a suitable non-woven wallpaper adhesive and the same preparation as Studio Vinyl.
- 01
Apply paste to the wall
Use ready-mixed adhesive suitable for heavy non-woven wallpaper and your wall surface. Apply a thin, even layer with a brush or roller to one panel-width at a time, extending slightly beyond it. Do not paste the whole wall at once or apply paste to the paper.
- 02
Hang the first panel
Align the panel to your vertical guide, keeping the planned trimming allowance. Gently smooth it onto the pasted wall from the centre towards the edges, working out trapped air without stretching or scrubbing the surface.
- 03
Match the next panel
Match the artwork before smoothing the next panel down. For edge-to-edge panels, bring the edges together without a gap or overlap. If your order has a supplied overlap, follow that panel layout instead; do not assume both finishes use the same seam method.
- 04
Clean and finish
Gently press the joins with an appropriate seam roller. Remove any paste from the face immediately with a soft, damp cloth, without rubbing. Trim surplus at ceilings and skirting using a sharp blade and straightedge; avoid tearing the wet material.
The deep-matte surface deserves a gentle touch. Wipe stray paste promptly with a soft damp cloth, without scrubbing.
03 · Self-adhesive textile
Studio Peel & Stick installation
The adhesive is already on the back of the fabric. Peel away the protective liner and apply gradually to a prepared wall — no separate paste, soaking or booking.
- 01
Position the first panel
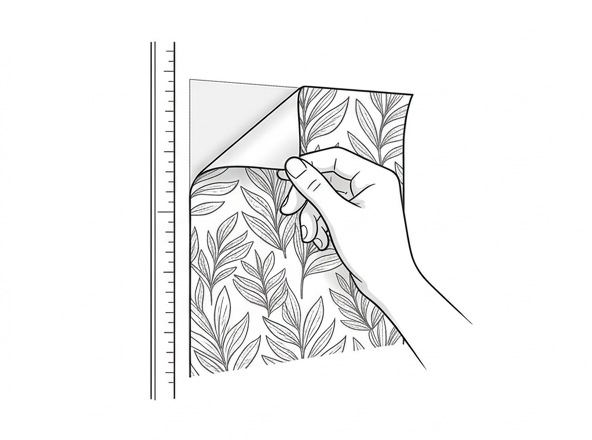
Check the vertical guide and panel order. Peel back only enough liner at the top to position the first section, leaving the rest of the backing in place. No wallpaper paste or extra glue is needed.
- 02
Peel and smooth gradually
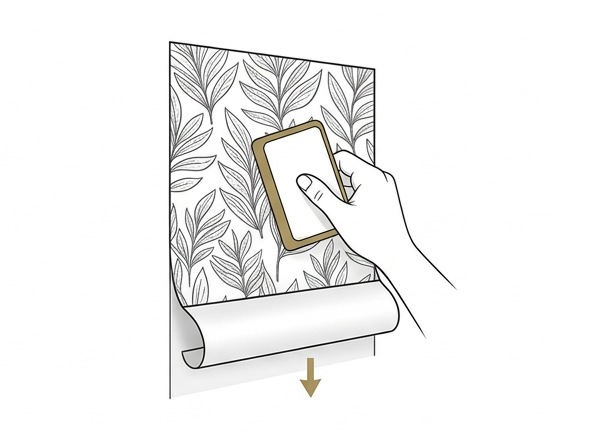
Work down from the top, removing the backing a little at a time. Use a soft wallpaper smoother from the centre outwards to release air. Keep the panel relaxed rather than pulling or stretching it.
- 03
Align the pattern and seams
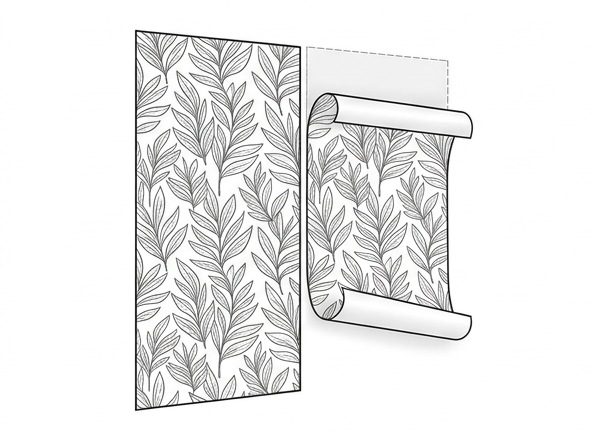
Bring the next panel alongside the first and match the artwork before pressing it down. Use an edge-to-edge join when supplied that way. If your panel layout specifies an overlap, preserve the specified overlap rather than forcing a butt joint.
- 04
Reposition and trim
If alignment is off, carefully lift the affected area and reapply without stretching. Smooth the panel fully, then trim excess with a sharp knife and straightedge. Keep the backing liner if you intend to remove and store the material later.
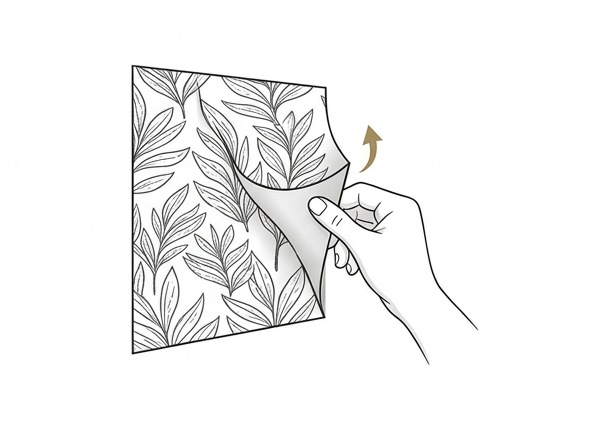
Test a small area first. Adhesion and clean removal depend on the paint, surface condition and curing time; do not assume every wall finish will perform identically.
Material & seam notes
Check the cut before you hang
Our vinyl wallpaper materials are supplied in two cut styles: edge-to-edge panels that meet without overlap, and 2.5 cm / 1 inch overlap cuts. The cut supplied with your order — not the surface texture alone — determines how panels should join. Check your panel layout before installation; contact us if the join is unclear.
Peel & Stick is a self-adhesive textile: remove the protective layer and apply it without additional glue. The detailed steps above reflect the standard method for this material type, and each order also carries the material-specific guidance supplied with your panels.
Always follow the material-specific instructions supplied with your order.
A little guidance before you start?
Send us your material, wall finish and order details.